
 Diecast models are all about scale realism—capturing the look of a full-size vehicle authentically in scale is an art. It is not unlike capturing a photo, which is why diecast lends itself so well to photography. That—and the proliferation of relatively high-quality digital cameras—is why so many collectors are moved to document their collections in photos. Regardless of whether you’re using a high-quality digital SLR, a simple point-and-shoot, or even just snapping quick pix with your cell phone, there are a few basic tips and techniques that will make any scale model photography better. With any camera, it’s the person behind the lens who makes a great shot, and most of the great shots you see in the pages of Die Cast X are the work of our ace photographer Pete Hall. We asked Pete to share a few key secrets to great diecast shots. Here are his Do’s and Don’ts:
DO’S
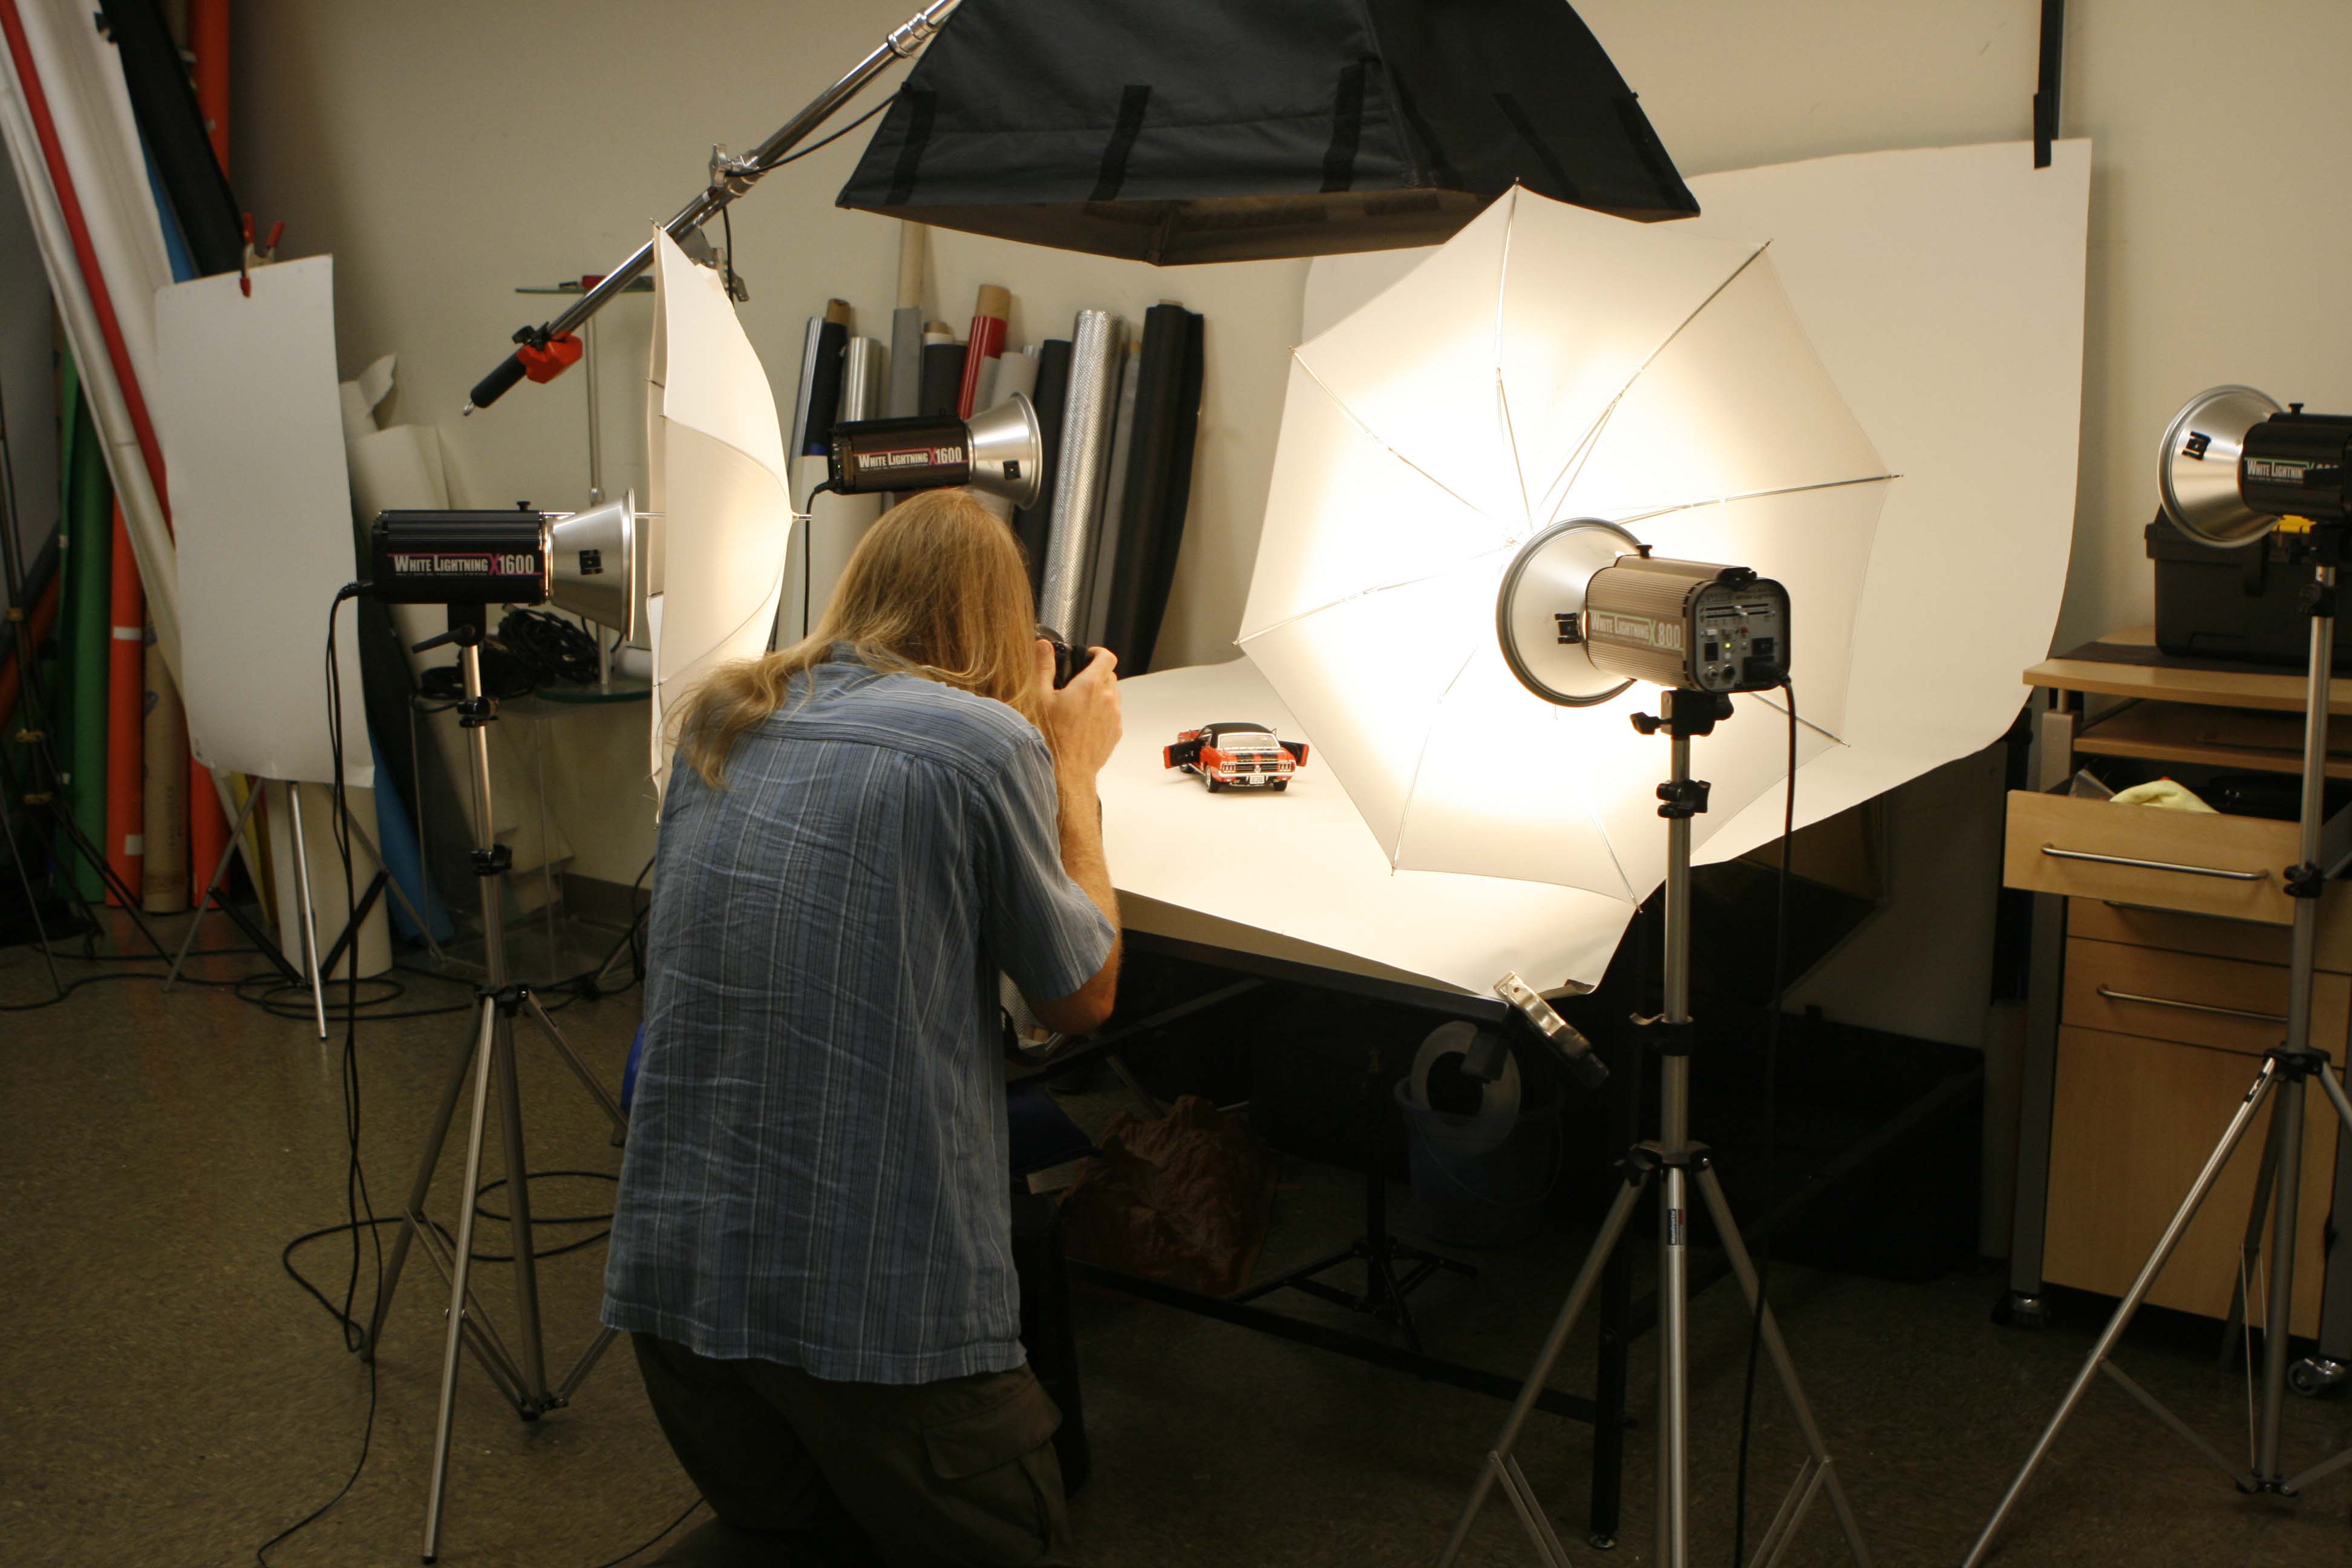
USE A TRIPOD!
Every technique listed here can be made more effective with a steady, stable platform. Tripods are not expensive—invest in one, and don’t be afraid to use it.
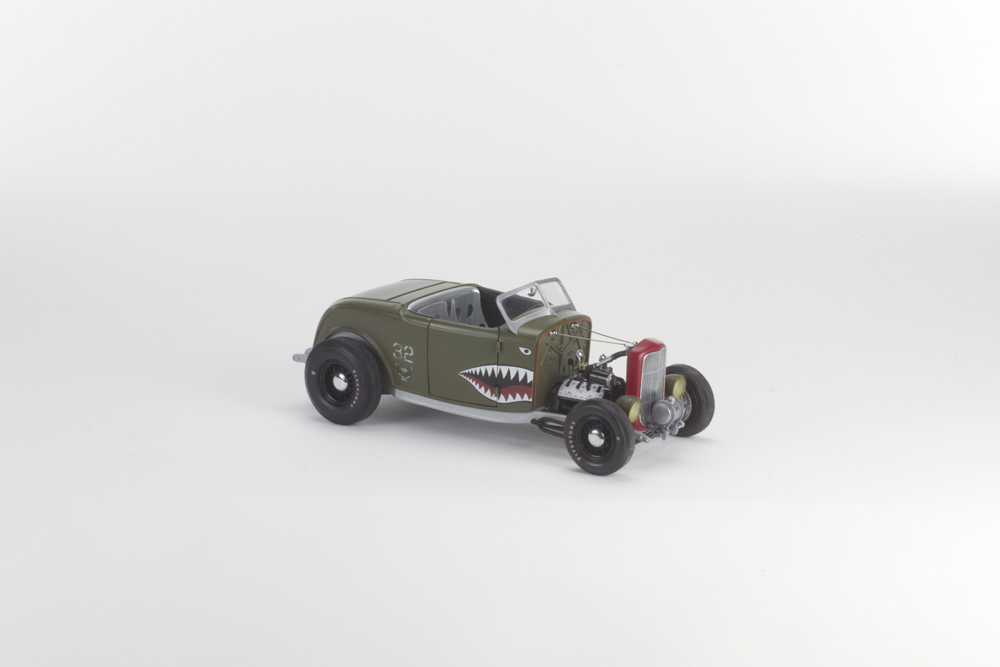
WORK THE ANGLES
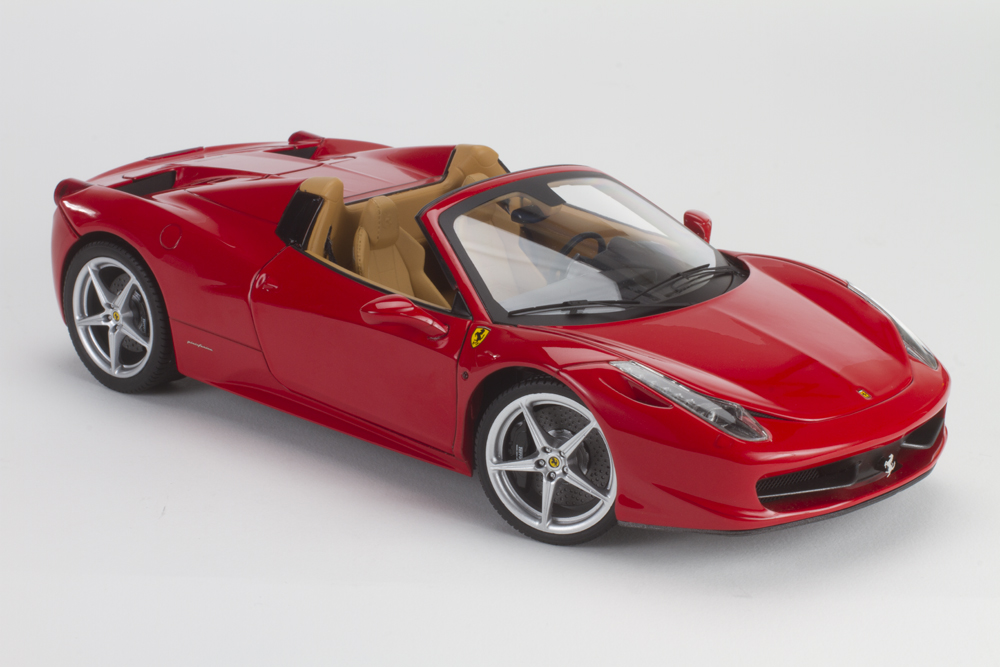 The standard for automotive subjects is a slightly side-biased ¾-front angle, but don’t be afraid to experiment.
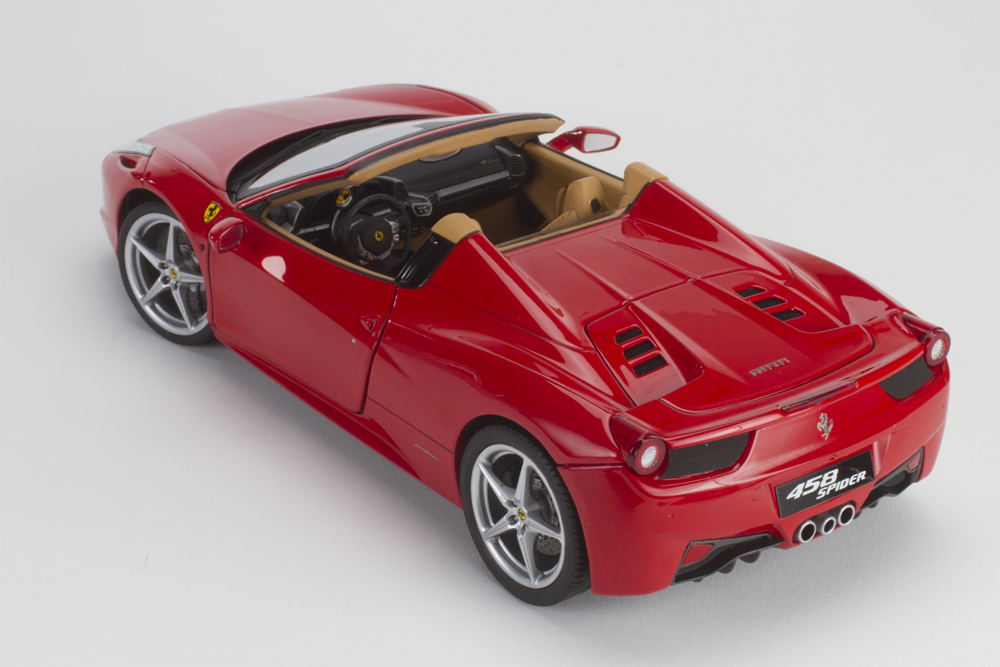
For example, convertibles can work well with a slightly elevated ¾-rear, and any car can come alive just by varying the angle a few degrees. Start with the standard, then try making a little cross with your subsequent shots—move up, down, left, right a few degrees and see what happens.
GET CLOSE
This is too far away!

Getting your eye (and your camera!) down to the level of the car makes it look more realistic.
Small digital cameras work best when you are close to your subject. It’s easier to get the important stuff in focus, and be able to control the light better. Oftentimes, bright subjects in the background can throw off your exposure, so by filling up your frame with your subject, you are also helping to block out unwanted items and expose the image correctly.
GET LOW
Getting low gives a greater sense of scale and drama, and it makes it easier to capture the car’s lines and details. Remember, the original full-scale designers styled the car to be admired from eye-level. Getting your photo as close as you can to that level will showcase your model best.
CAR IN FRONT OF YOU, SUN BEHIND YOU
If you are shooting outdoors, and the sun and your car are both in front of you, the camera software will expose for the bright sun and your car will look dark or even be reduced to a silhouette. Always position your shot so the sun is behind you when you snap the pic. You may want to position yourself so the sun is off to one side or the other to get the best light on the car, or to prevent your shadow from being visible in the shot.
PAY ATTENTION TO BACKGROUNDS
You want to draw your audience’s eye to the car, not distract them from it. Backgrounds that are cluttered can cause the car to get “lost” in the photo. Also, remember that we are dealing with scale models here. Choose backgrounds that enhance rather than detract from the scale look.
“F” UP!
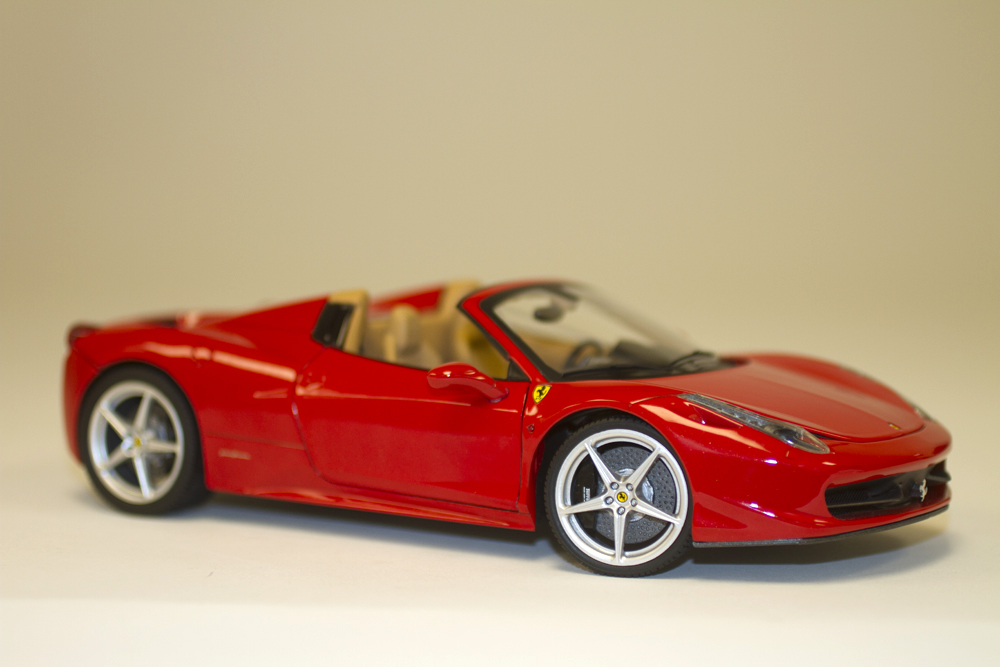
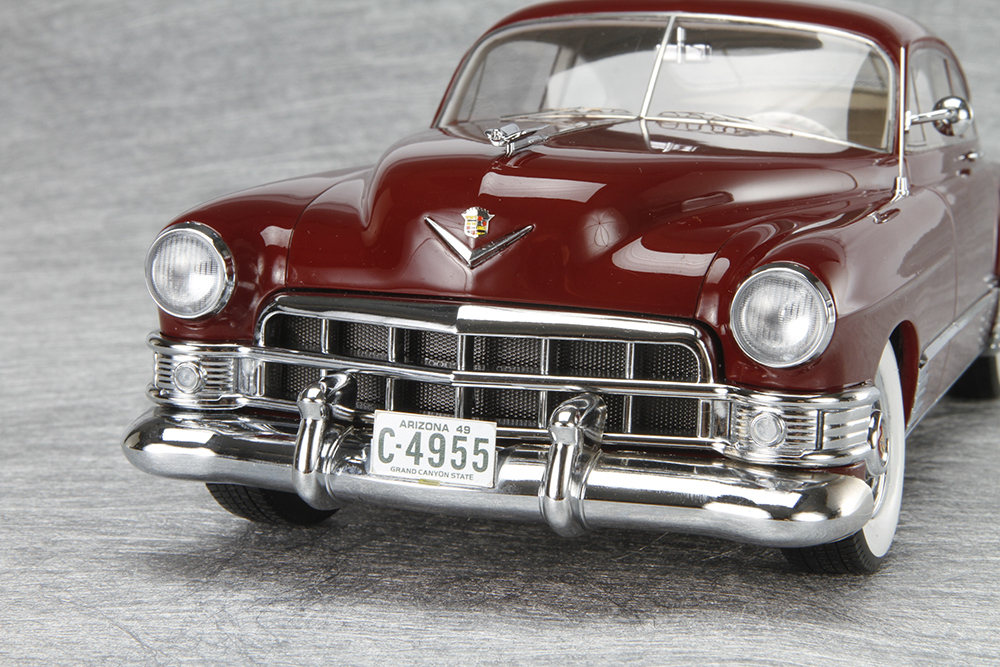
In this first shot, the F2.5 setting makes the depth-of-field too shallow, which drops the back of the car out of focus.
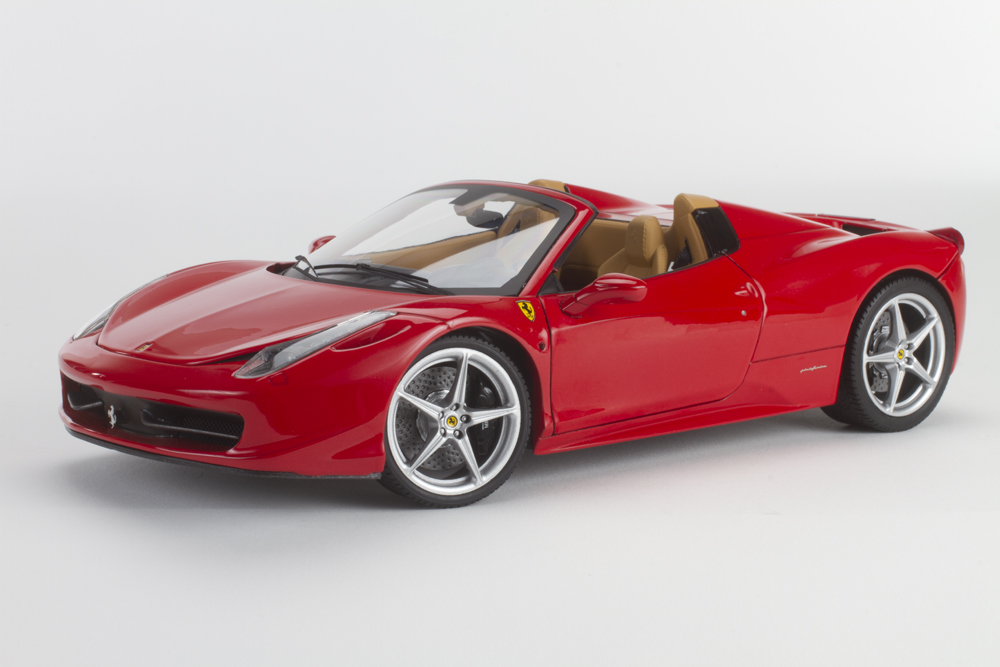
In this shot the F25 setting produces a nice, sharp image front to back.
If your camera has an F-stop adjustment, start with a high F-number. Without getting too technical, this will give you a broader depth of field—meaning more things in the shot will be in focus. That way the grille, doorhandle and rear fender can all be in focus at the same time. Low F-numbers are better for low-light shots, but the background will drop off to blurry much faster—which tends to be less preferable for die cast.
DON’TS
AVOID HEAVILY TEXTURED SURFACES
You’ll be tempted to try realistic surfaces, but just remember that your model looks better when it’s in a scale environment. Grass, gravel, or pebbly pavement doesn’t scale down the way a car does—1:1 gravel next to a 1:18 car can look like a field of boulders!
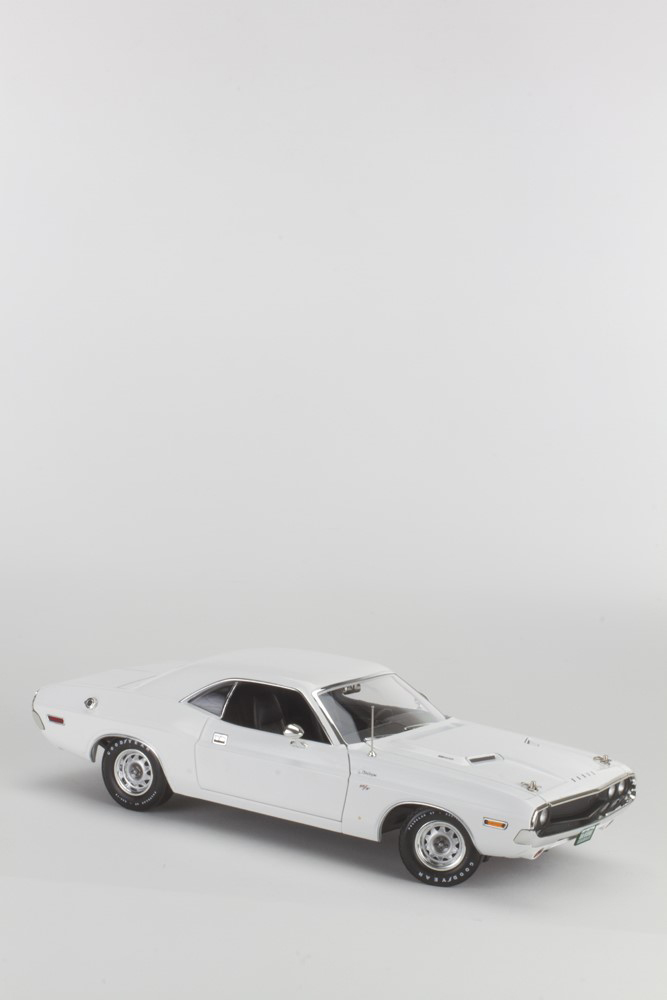
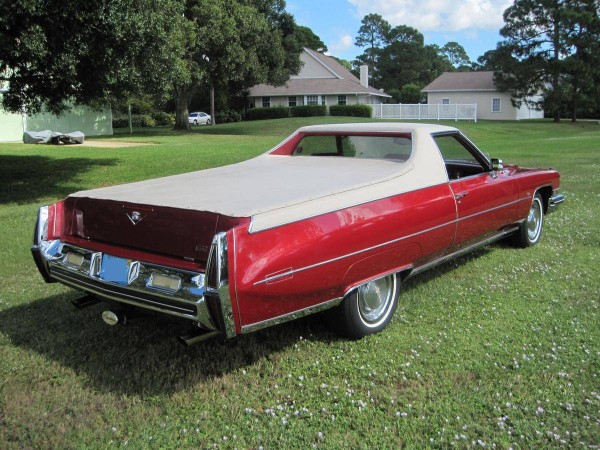
This vertical orientation leaves too much empty space up top! Turn the camera sideways to fill up the frame.
NO VERTICAL PHOTOS!
When composing a model car photo, always hold the camera horizontally. This is called a “landscape” composition, and it’s the way to shoot a car. Holding the camera vertically is for “portrait” compositions, and it seldom makes sense for car shots. Look at all the wasted space in the frame.
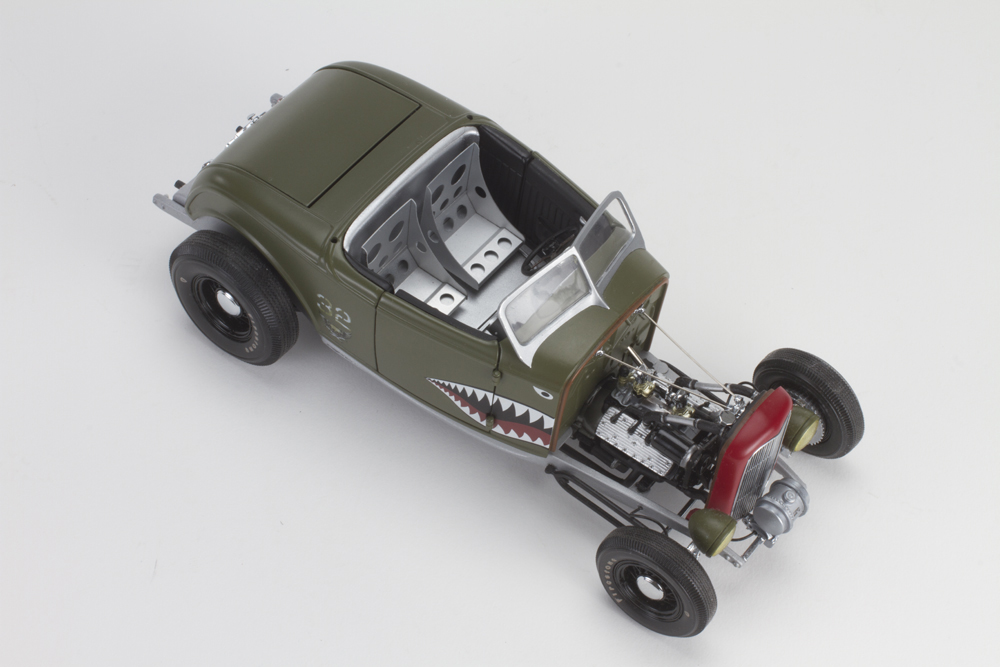 STAY AWAY FROM OVERHEAD ANGLES
Top-down views minimize your subject and make it look toyish. They also miss many of the most interesting styling features that give your model its character.
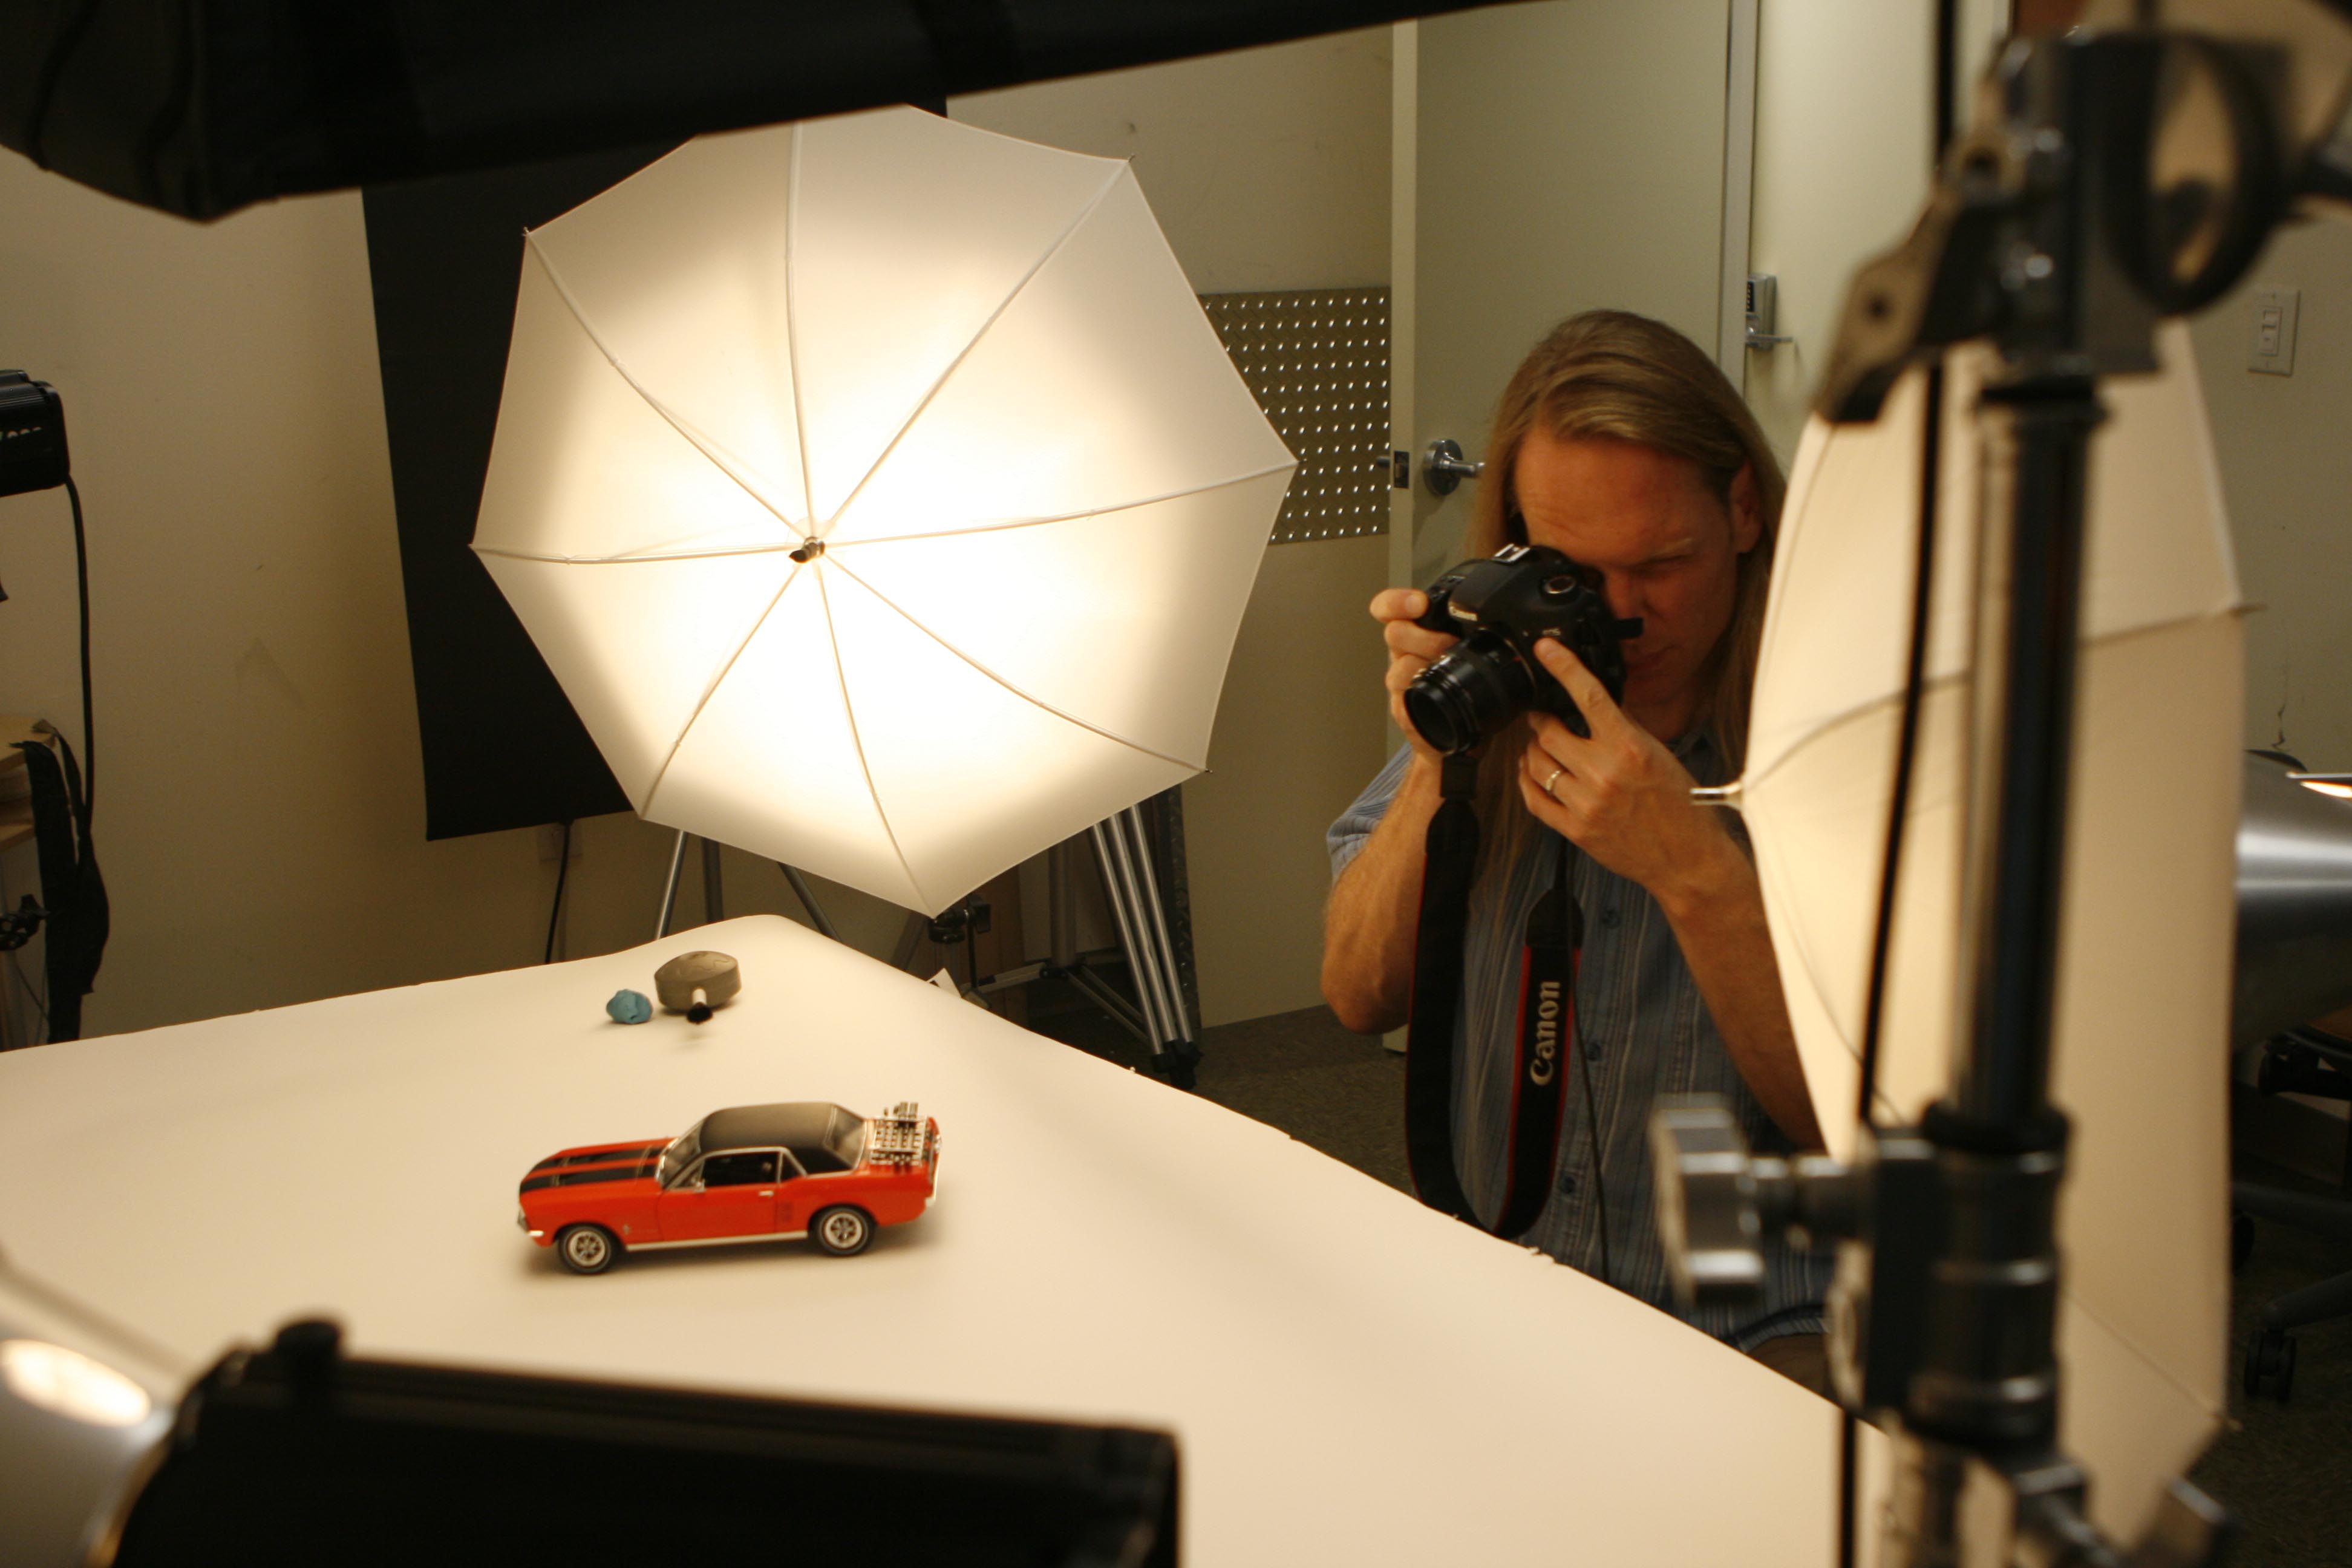
BE CAREFUL WITH FLASH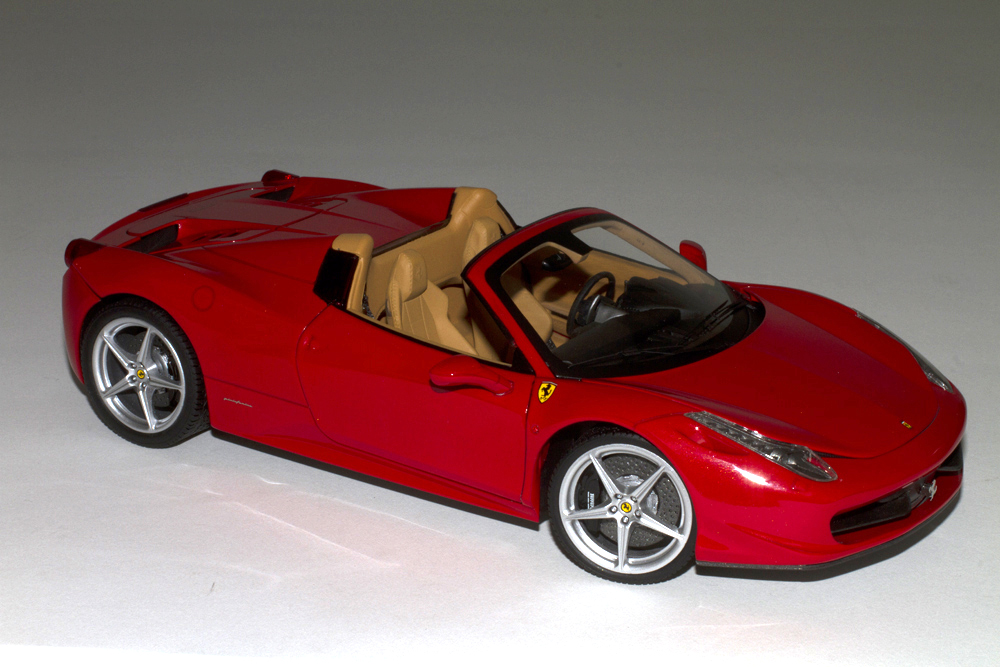
Single on-camera flashes can create harsh shadows and reflective “hotspots”. Diffused light is much better than a single bright flash. If you don’t have a multiple flashes available, try diffusing your onboard flash by rubberbanding a white paper coffee filter over it.
PRO TIPS
Don’t be content to just pop a standard view and call it a day. Try different angles, change the car’s position, get close and pull back, even break some of the rules and see what you get. For every eye-popping shot you see in DieCast X (or anywhere you see great photos), the photographer probably threw away 20 other versions. Once you’ve got the basics, experiment!
FILL FLASH
Flash can sometimes be useful even in brightly lit situations to help illuminate details that might otherwise be hidden in shadows. This is especially true when the background is brightly lit. The technique is called ‘fill flash’ and it will take some trial and error. You’ll probably have to override the flash’s ‘auto’ detection setting to force it to fire. Most of the time it will be too harsh and unnatural, but you just might get that perfect shot even when it seems too bright to need a flash.
ZOOM IN ON DETAILS TO CHECK FOCUS
A photo that appears to be in focus when viewed on your camera’s tiny screen may actually be “soft.” Open the photo and zoom in to make sure the details and lines of the car are sharp. If the camera software is having trouble deciding where to focus, try focusing manually.
SHOOT OUTSIDE
No flash can match the sun. That nuclear fusion reactor in the sky puts out the best and most natural light. More light prevents the photo from getting too “grainy” or “noisy,” so your images will be clearer.
MAGIC HOURS
Savvy photogs know that the overhead light that occurs during the middle of the day creates harsh, short shadows. For better light, shoot earlier in the morning or later in the afternoon. The sun will be lower in the sky, and that makes it easier to find an angle that lights up your car from the side instead of overhead.
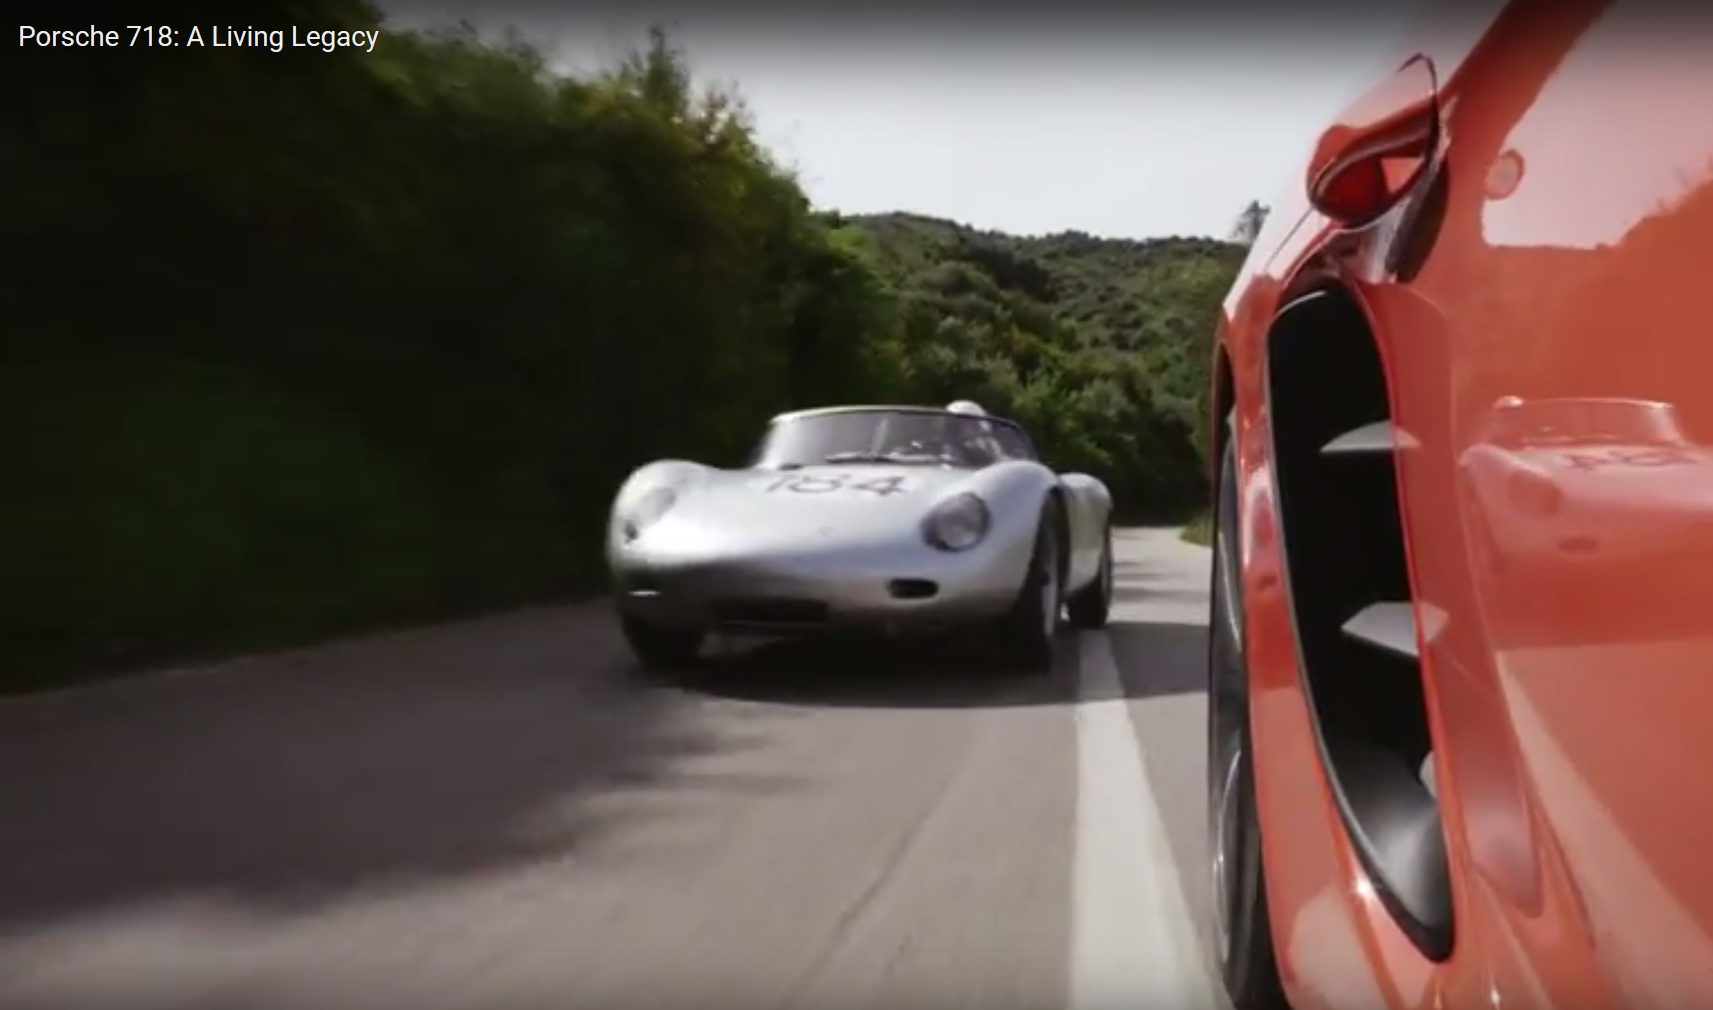
INTERESTING SCENE? GO WIDE
“Get close” is always a good rule for shooting diecast, but if your background is a scenic beach, the rocks of Moab, a dream garage-mahal or something else visually interesting, snap a few more shots and pull back to get more of the scenery in the image. This can really bring life to models that are linked to a specific environment —a race car on a track, a 4×4 on a trail…you get the idea.
…AND THERE YOU HAVE IT!
Keep these few simple rules in mind and you’ll be impressed how much more dynamic your diecast photos are. Try out Pete’s tips, and be sure to send us a sample of your best shots to dcx@airage.com!